Tuesday Tips & Tricks: Make your own color of card stock.


Tuesday Tips/Tricks:
Make your own color of card stock.
I always save my scrap pieces of card stock for die cutting and other such things of that nature.
Sometimes I don't have the color of scrap piece I am looking for and especially don't want to cut a full piece of card stock.
Next time try using your Stampin' blend and color on a white piece of card stock with color you need. 😏


Otterly Amazing - Fun Fold


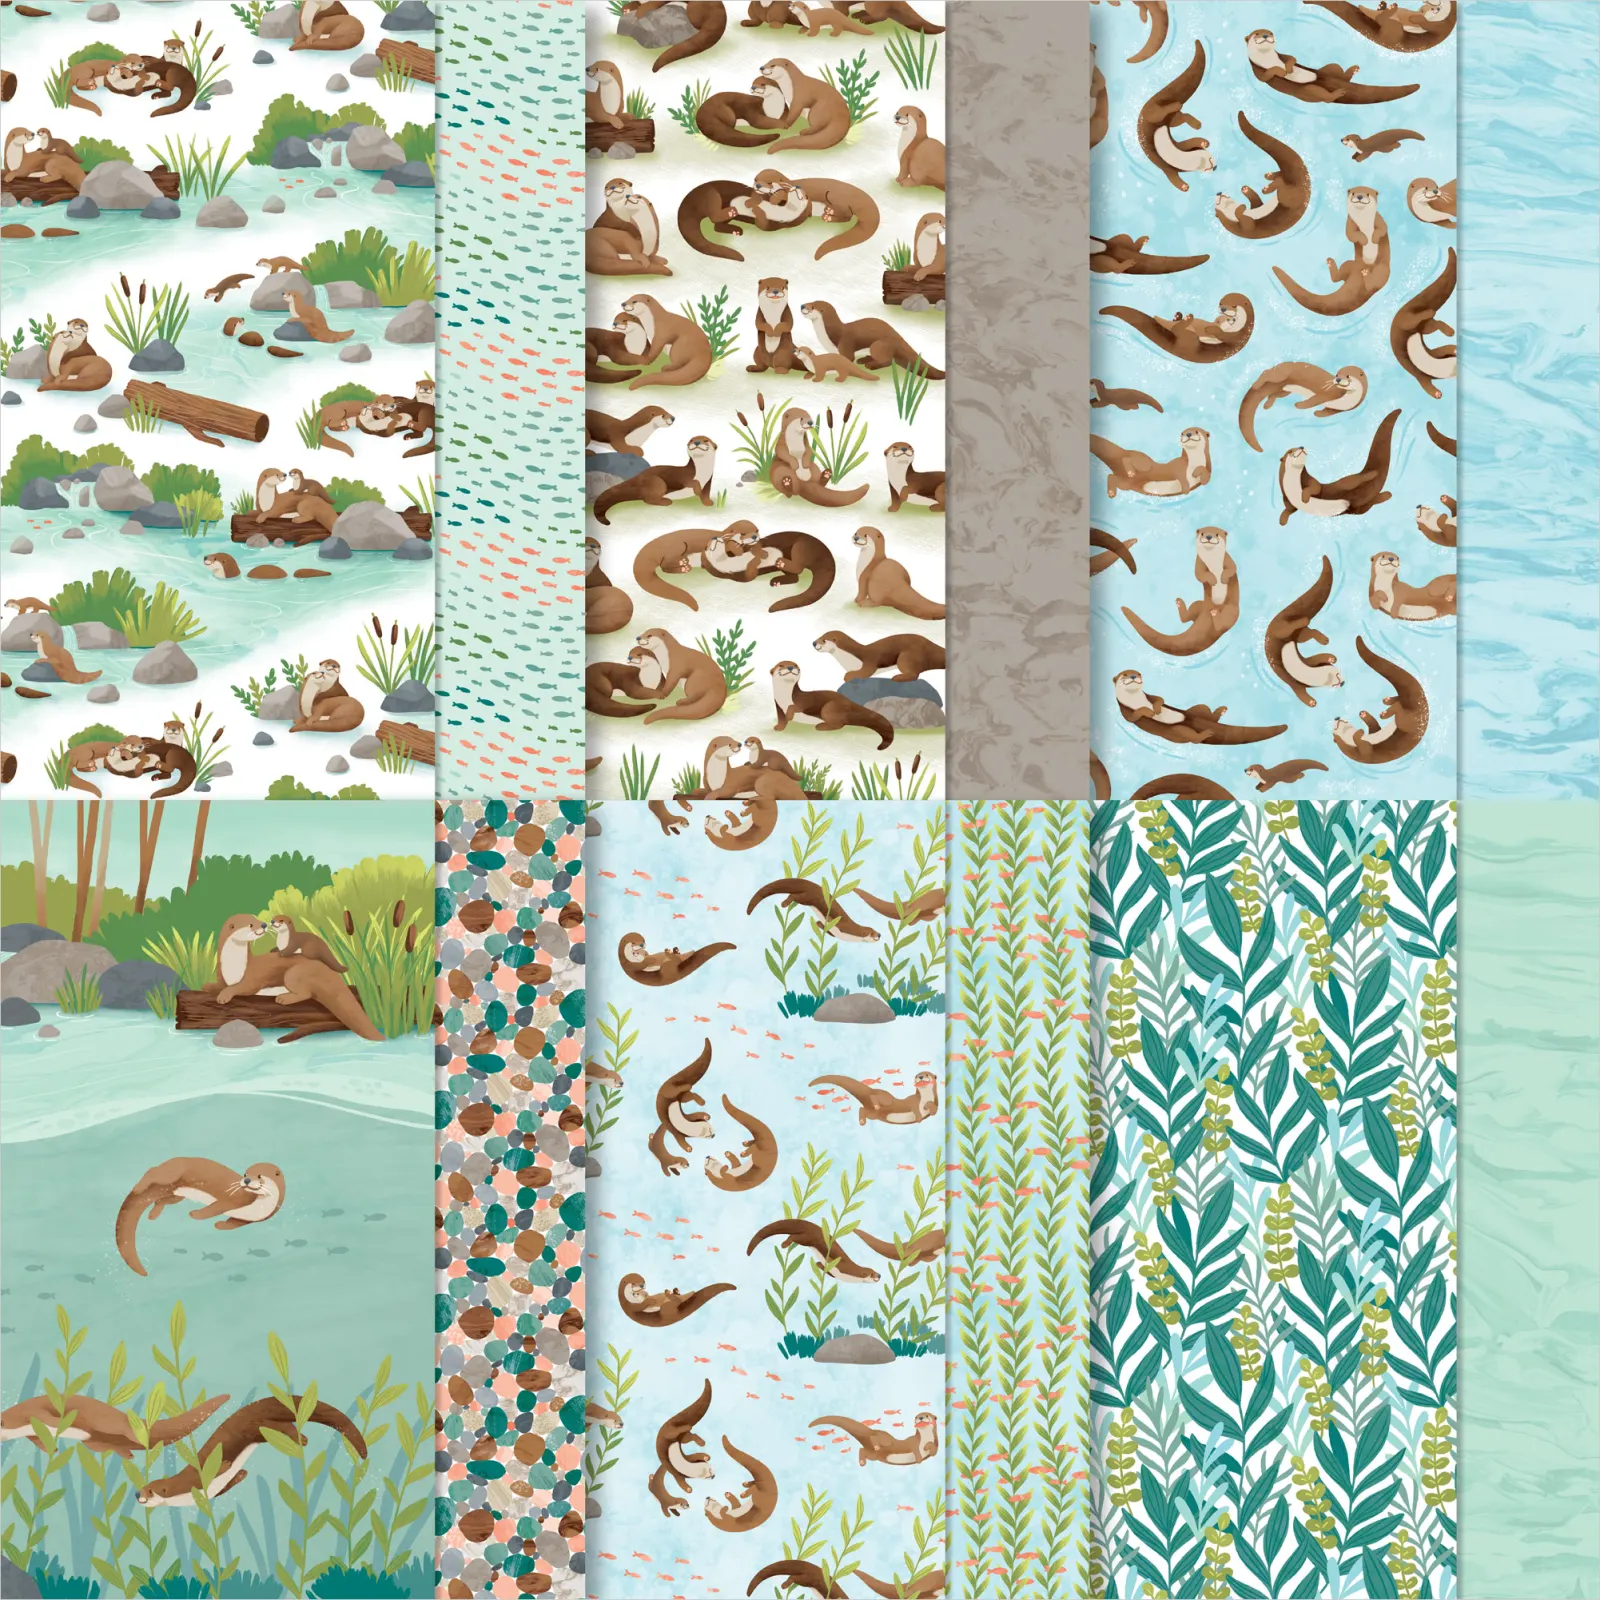
This otterly adorable fun fold card, was uber simple to create. 
Toppled with using the otter DSP, made it the 
perfect card to give a friend. 

Measurements:
Basic White Cardstock: 11" X 4-1/4" (Base) Score @ 5-1/2" X 8-1/4"
Basic White Cardstock: 10" X 3-1/2" (Insert Layer) Score @ 4-1/2" X 7-1/4"
Lost Lagoon Cardstock: 4" X 5-1/4", 2-1/2" X 4" ((X2)) (Base)
Lost Lagoon Cardstock: 4-1/4' X 3-1/4", 2-1/2" X 2-1/2" X 3-1/4" (Insert Layer)
DSP: 3-3/4" X 5", 2-1/4" X 3-3/4" (Base)
DSP: 2-1/4" X 3", 4" X 3" (Insert Layer)
Basic White Cardstock: 2-1/4" X 3-1/4" (Top)

Watch YouTube video below to see how to assemble. 


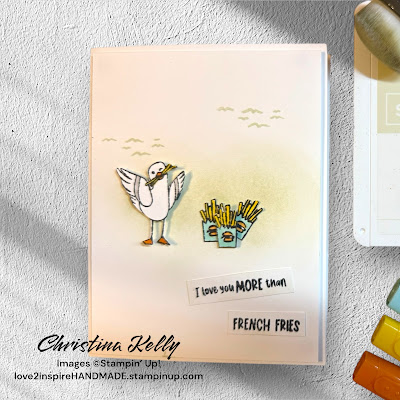
Friendly Seagulls - SAB


This adorably fun stamp set is sure to make
 one smile. With these silly yet friendly seagulls. 


You can earn this adorable stamp set for FREE with 
purchase of minimum of $60 order. 


Bloom Impressions - Desk Calendar


Measurements: 
White Cardstock: 11" X 4-1/2" Score 2-1/2" and 5-1/2"
DSP: 3-3/4" X 5"
Colored Cardsstock: ((X2)) 5-1/4" X 4" 
White Cardstock: 3-1/2" X 3-1/2"
Scrap for sentiment:


Supplies: 
Blackberry Bliss Ink #147092
Sharing Loving Crafting stamp # 164902
Nested Essential Dies # 161597
Bloom Impressions 12" X 12" DSP # 164944
White Cardstock # 159276
Black Berry Bliss Cardstock #133675


Other: 
Sticky notes
Mini Calendar 
Paper Trimmer
Dimensions
multipurpose glue


I love you! Mystery Craft Box

Get excited. 
If you received one of my mystery craft boxes in the past you know how action packed of goodies 
these little boxes of joy are. 💕
And you are sure in for a treat this quarter!

If you haven’t; let me tell you a little bit of what you can expect. You will get everything listed below, along with things that aren’t included in case you want to follow along with me to detail. These boxes will be limited, so you won’t want to miss out! I will do a reveal of the box on my blog, but not until registration has closed. 

I love designing these projects and finding cute pillow gifts to coordinate with the theme to surprise and delight you. This “I love you” mystery box will feature fun designs using the “Hearts of Elegance” bundle from Stampin’ Up! Coupled with adorable projects easy to reproduce over and over again. If you are still with question if you should purchase the box just know a lot of love and care goes into each box.


What you will receive. 🥰
* (1) Printed out PDF tutorial included in box.
* (2) cards
* (1) 3D Frame
* (1) Treat box
* (1) Matchbook treat holder
* (1) Lollipop holder
* (1) Treat Bag
* (1) Heart of Elegance stamp set
* (12) Sheets "Sample" pack of  6” X 6” Marbled Elegance Designer Series Paper
* (1) Gold Twisted Thread
* (1) Adhesive-backed Heart Sequins
* and of course no pack would be complete without Pillow Gifts!

Cost: $55

Deadline to sign up for this is Friday, January 3rd, 2025. 
Packets will be mailed out January10th, 2025 or delivered/picked up for those in area.

Not Included: 💖
Real Red Ink # 147084
Flirty Flamingo Ink # 147052

Tuesday Tips/Tricks: Which adhesive to use to make it stick?

Ever wonder what’s the difference in all the different adhesives?

Let me share just how unique each one is. Stampin’ Up! has several different adhesives, each having a different purpose so it can get a little confusing, especially for beginner crafters.
Choosing the right adhesives can be the difference between success and
failure on most projects.

Some adhesives are heavy duty, others are reposition-able, some thick, some thin. Keep reading for a little help choosing which adhesive is best for your projects as well as a few tips and tricks.


SNAIL is a double sided acid free adhesive tape runner, suitable for both cardmaking and scrapbooking. This is my ‘go to’ adhesive for building layers of cardstock, attaching photos and even ribbon. It is a little forgiving as you can lift it off once adhered (which you cannot do with Stampin Seal+). If you do lift off once adhered, you will need to reapply the adhesive. I tap the adhesive around the edges of the project rather than running completely around the outside. This makes it easier to remove if you make a mistake and saves you some money as well. It is very economical, mess-free and easy to use. All you have to do is press tip to paper and pull backwards (never push forward).
FINE TIP GLUE PEN is a super strong adhesive with a very fine tip, perfect for adhering small embellishments, glitter and intricate paper cutouts to projects. You can also use it to add shine or a lacquer look to any die cuts or stamped images (similar to Stampin’ Up!’s retired Crystal Effects) but you do need to allow plenty of time to dry (at least overnight). This is an adhesive where ‘less is more’. I use this product to create a fine line of glue. Randomly adding drops to a paper project provides some easy bling. It is important that you replace the cap immediately after use or otherwise the tip will clog with adhesive which has set. Always store upright.
MULTI PURPOSE LIQUID GLUE One of my favorites as it is a general purpose adhesive, with a fine tip for precision application and a chisel tip for larger areas. Recommended for glitter, sequins, paper, cardstock and embellishments. It dries quickly and clear. The best feature of this adhesive is that there is a slight delay before it dries which allows you to adjust the placement of your embellishment or card stock. I always store this glue upside down.
GLUE DOTS are super sticky, acid free, mess-free adhesive dots for adhering buttons, pearls, ribbon, small die cuts and small embellishments. It is also the best adhesive for the glimmer side of Glimmer Paper. To add a glue dot to an item, unroll paper backing to expose next glue dot, firmly press item to the dot, then lift to remove the dot from the backing paper. Another option is to use your Paper Piercing Tool to pick up the glue dot and apply to your embellishment.
TEAR AND TAPE is a double-sided strong adhesive tape suitable for box- making, home decor and 3-D projects. Bonds instantly with an easy to tear paper backing (does not need to be cut). Place tape onto project and tear from roll. Press the tape firmly to adhere to cardstock. Remove paper backing. This tape is suitable for adhering glitter (make sure you rub in) to make a 1/4″ straight line glitter strip.
STAMPIN’ DIMENSIONALS are double sided adhesive foam dots which add depth and dimension. Great to pop-up layers.
FOAM ADHESIVE STRIPS come in two sheets of long thin foam strips which are suitable for creating shaker and spinner cards or for popping-up small or narrow layers – recommended for sentiments or embellishments. These strips provide higher dimension than Stampin’ Dimensionals.

If you still are not sure or would like to know how to purchase one or all these adhesives for your crafting skills reach out to me and let's chat. Shop with me 24/7.

Customer Appreciation


The final class of the year combines Customer Appreciation
with a Cookie Exchange.
I continually value the chance to assemble with
creative peers who share my interests.
I was especially fond of sampling the cookies. 🍪


We spent time talking about upcoming holiday celebrations 
we are attending and laughing together about nothings. Trying out
new technique and creating new fun usable creations.

Using the NEW S-A-B coming out soon. 
 "Dance with Me" and "Bloom Impressions" 
to create a fun card and
notepad / 2025 calendar holder. 


Small Gift bags using "Bloom Impressions" DSP

It was so fun using the 
Blooms Impressions 6" X 6" DSP 
Sale A Bration designer series paper, 
this paper is SO bright and perfect for spring.

You can get your own pack for 
FREE starting January 7, 2025
Free in our SAB catalog for 
limited time with a minimum purchase. 


 Measurements:
Designer Series Paper: 6" X 6"
Score on one side at 2", 2-3/4", 4-3/4" and 5-1/2"
Turn and Score at 3/4" and 4"

Watch the quick video tutorial for below template 
to make more since.


Supplies: 
Scrap white Cardstock
Label Me Lovely Punch #151296
My Small Business stamp # 163720
Very Best Trio punch # 159878
Melon Mambo ink # 147051


Chapstick Holder

One of my favorite things is simple projects. 
And this little jewel is the prefect one. 


Supplies Used:
Simply Said Stamp set 163753
Shy Shamrock Ink 163808
Shy Shamrock Card stock 163795
6" X 6" In-Color DSP 163777
Scrap of White card stock
Other: Scissors, Paper Trimmer, multi purpose glue

The measurements are quite simple to create 
this simple little cardstock holder. 
And it's makes for the perfect 
Thank You gift for party favor. 

Meauresment:
Card stock: 5" X 3" Score at 1" on all four sides
DSP: 5" X 3" Score at 1", 2", 3", and 4"
Watch the video below for full instructions. 


Santa's Workshop Gathering

Another year at a success with Santa's Workshop!
I love creating new fun events and classes.
But this has to be my favorite one to do each year.
Creating fun and simple gifts for attendees to 
take home and be inspired
to create on their own. 
It is truly a highlight of mine to share the 
smiles with friends. 


Raffle winners!!!
Just look at those smiles. 


What a great bunch of ladies.
If you are looking for something fun to do. Join us for the next event. Always love teaching/creating with others.


Coffee & Cards