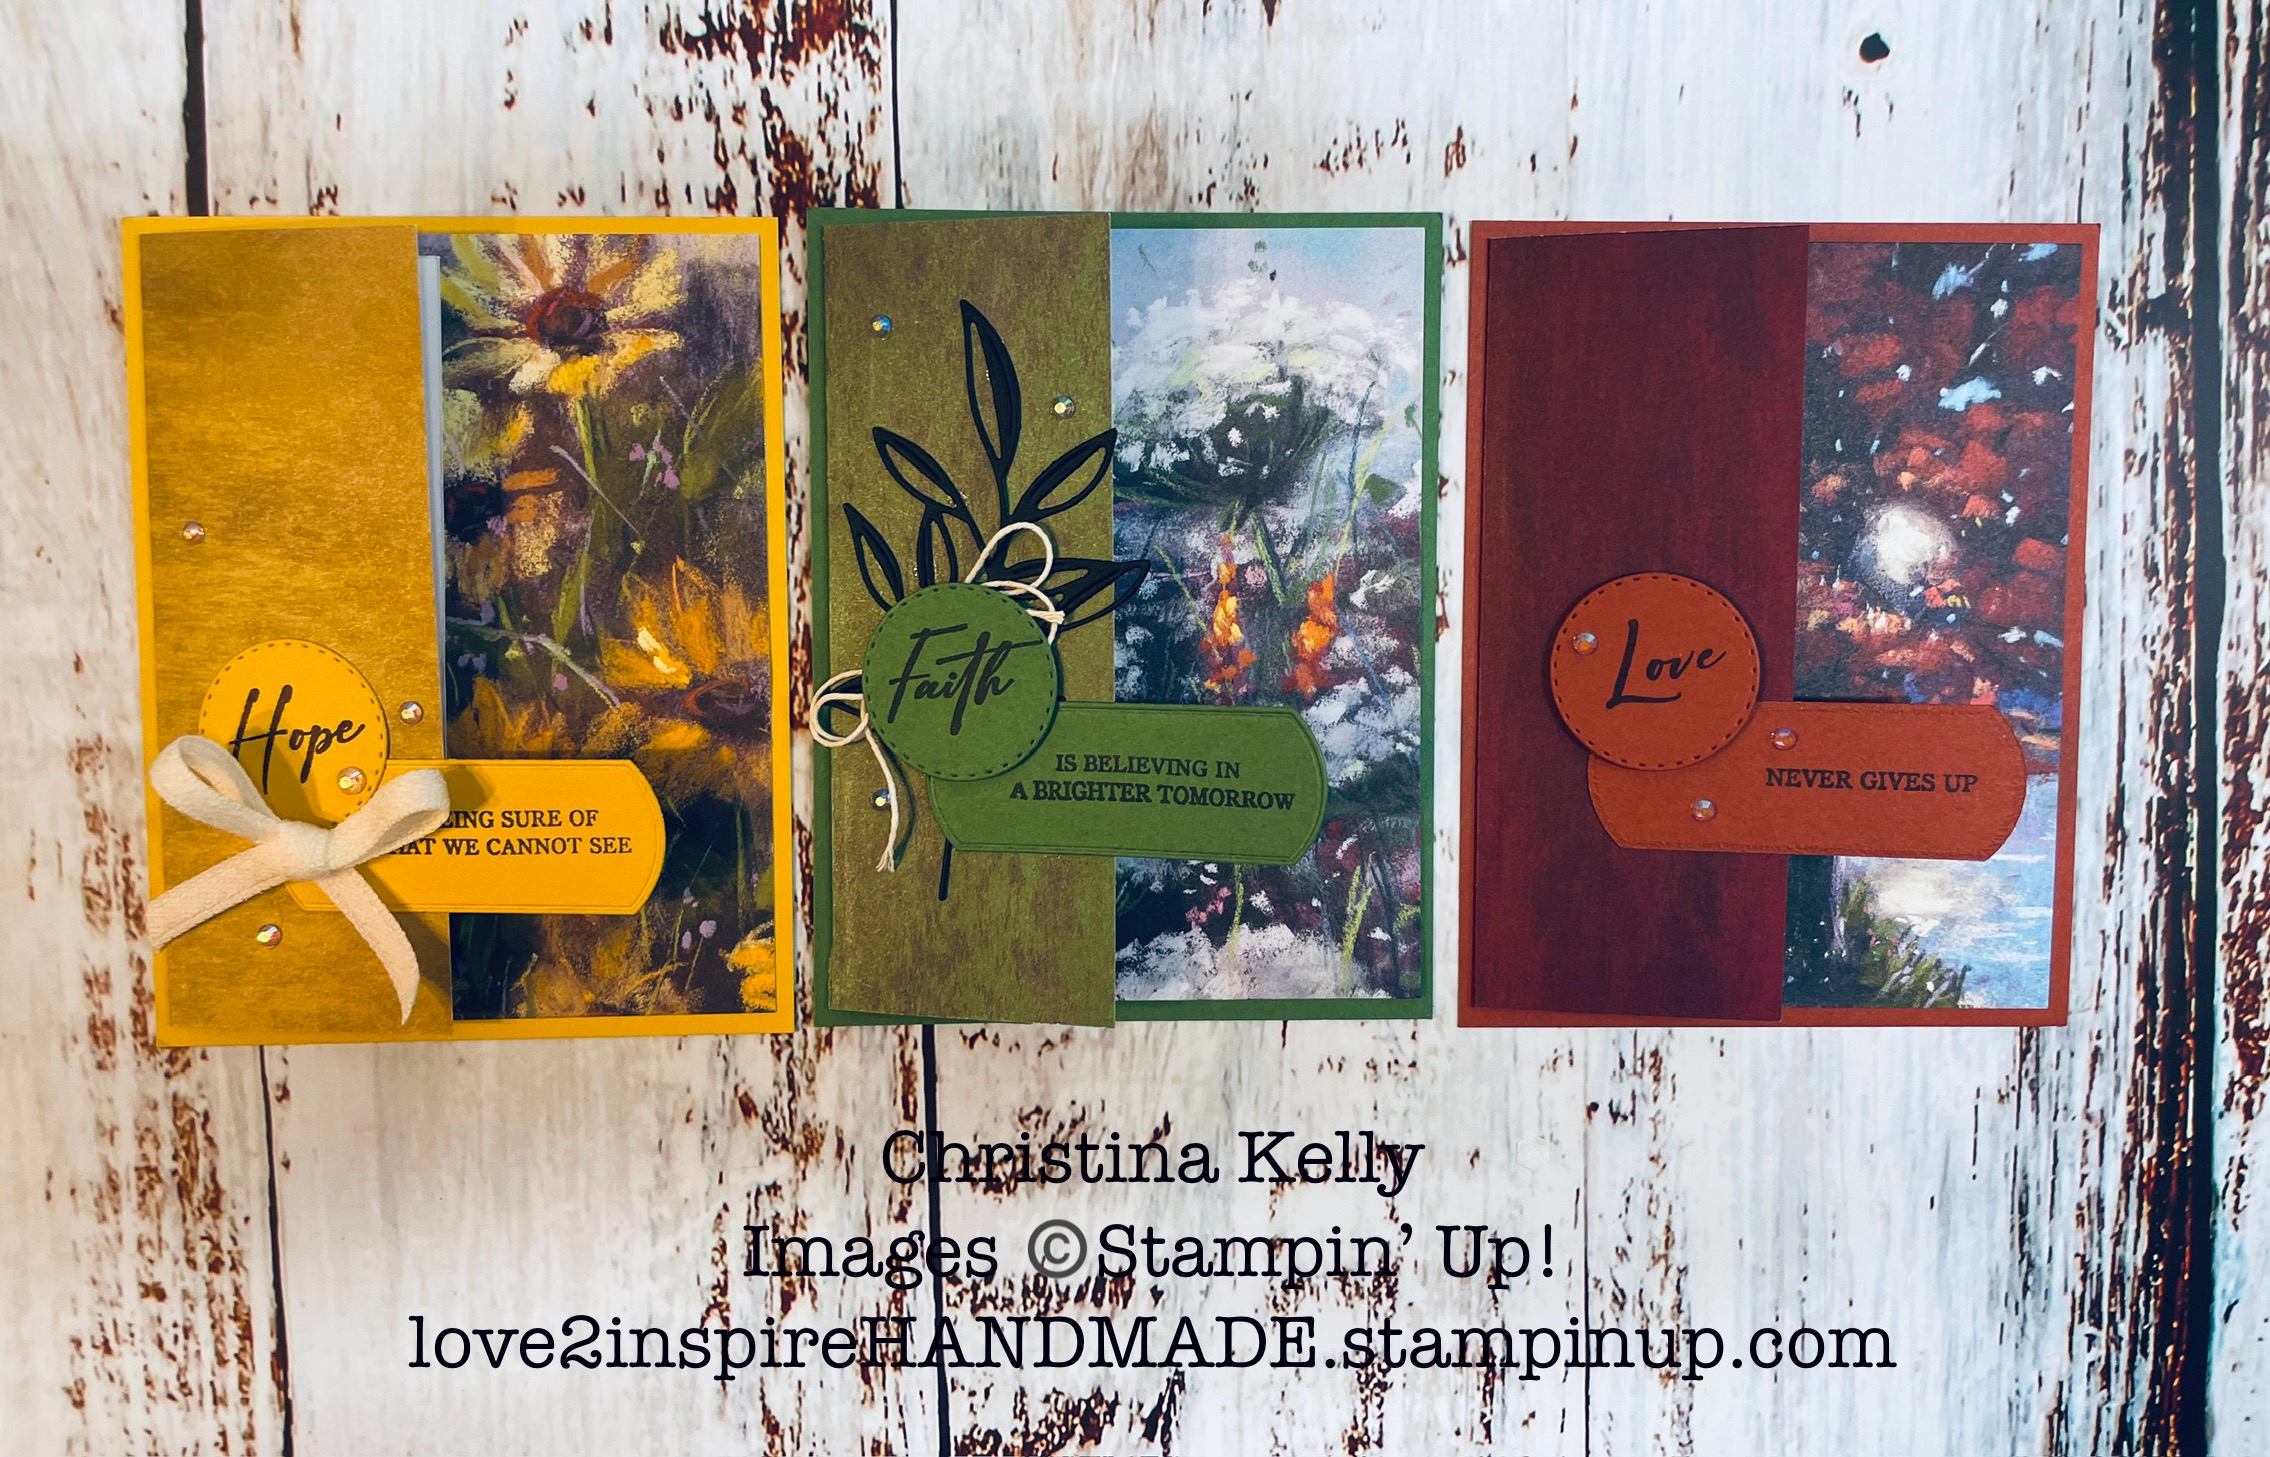
I truly had SO much fun putting this Mystery Craft Box together.
It comes with a box full of 3D projects perfect to recreate for all your favorite
ghouls and gals.


Everything included in box:
* A printed out step by step PDF tutorial included in box.
* (1) Fun card
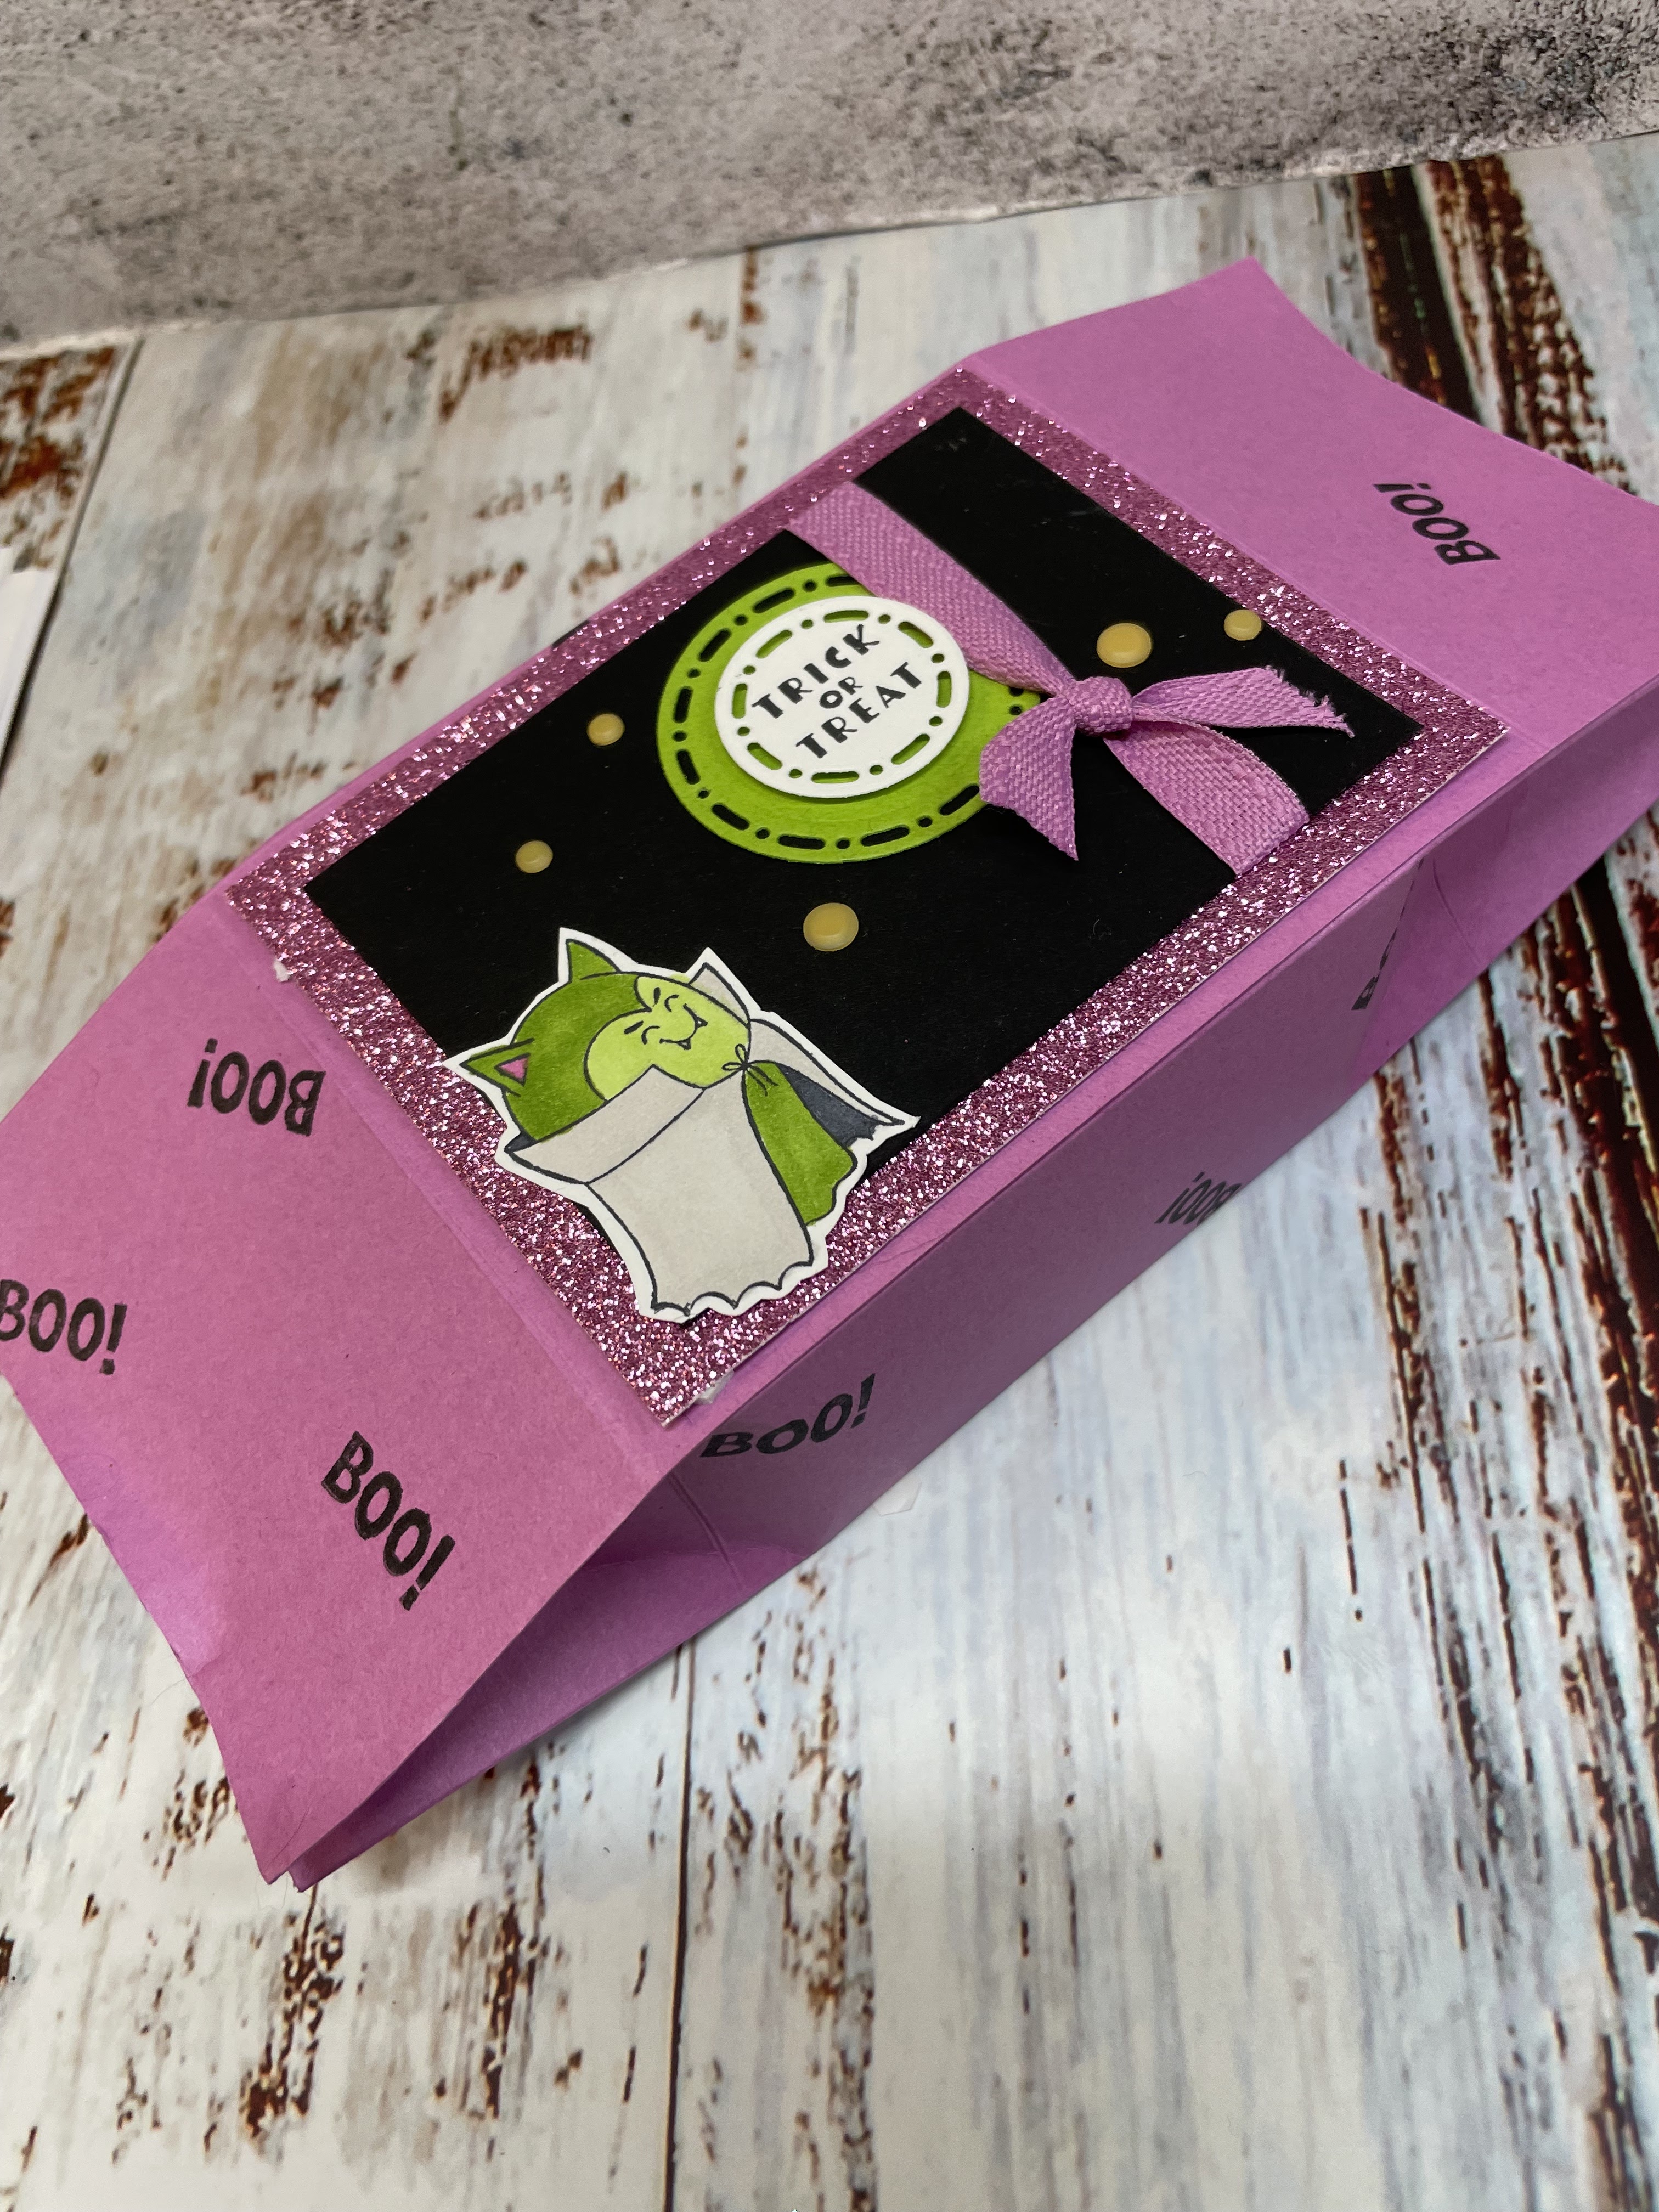
* (1) Playful ghosts donut/cupcake box
* (1) Ghostly Easel Box
* (2) Folded Paper Gift Pouch
* (1) Playful notepad
* (1) 6”X6” Glitter Paper mini pack of 2024-2026 In Color
* (1) pack of embellishments
* (1) Playful Ghost Stamp
* and of course no pack would be complete without Pillow Gifts!
Deadline to sign up for this is Friday, August 30, 2024
Packets will be mailed out Sept. 13th, 2024 or delivered/picked up for those in area.
NOT INCLUDED IN BOX:
Granny Apple Green Blend Marker
Puetina Pop Blend Marker
Peach Pie Blend Marker
Daffodil Delight Blend Marker
Basic Black Blend Marker
Memento Ink Pad

Next box release will be showing up end of December.